Your cart is currently empty!
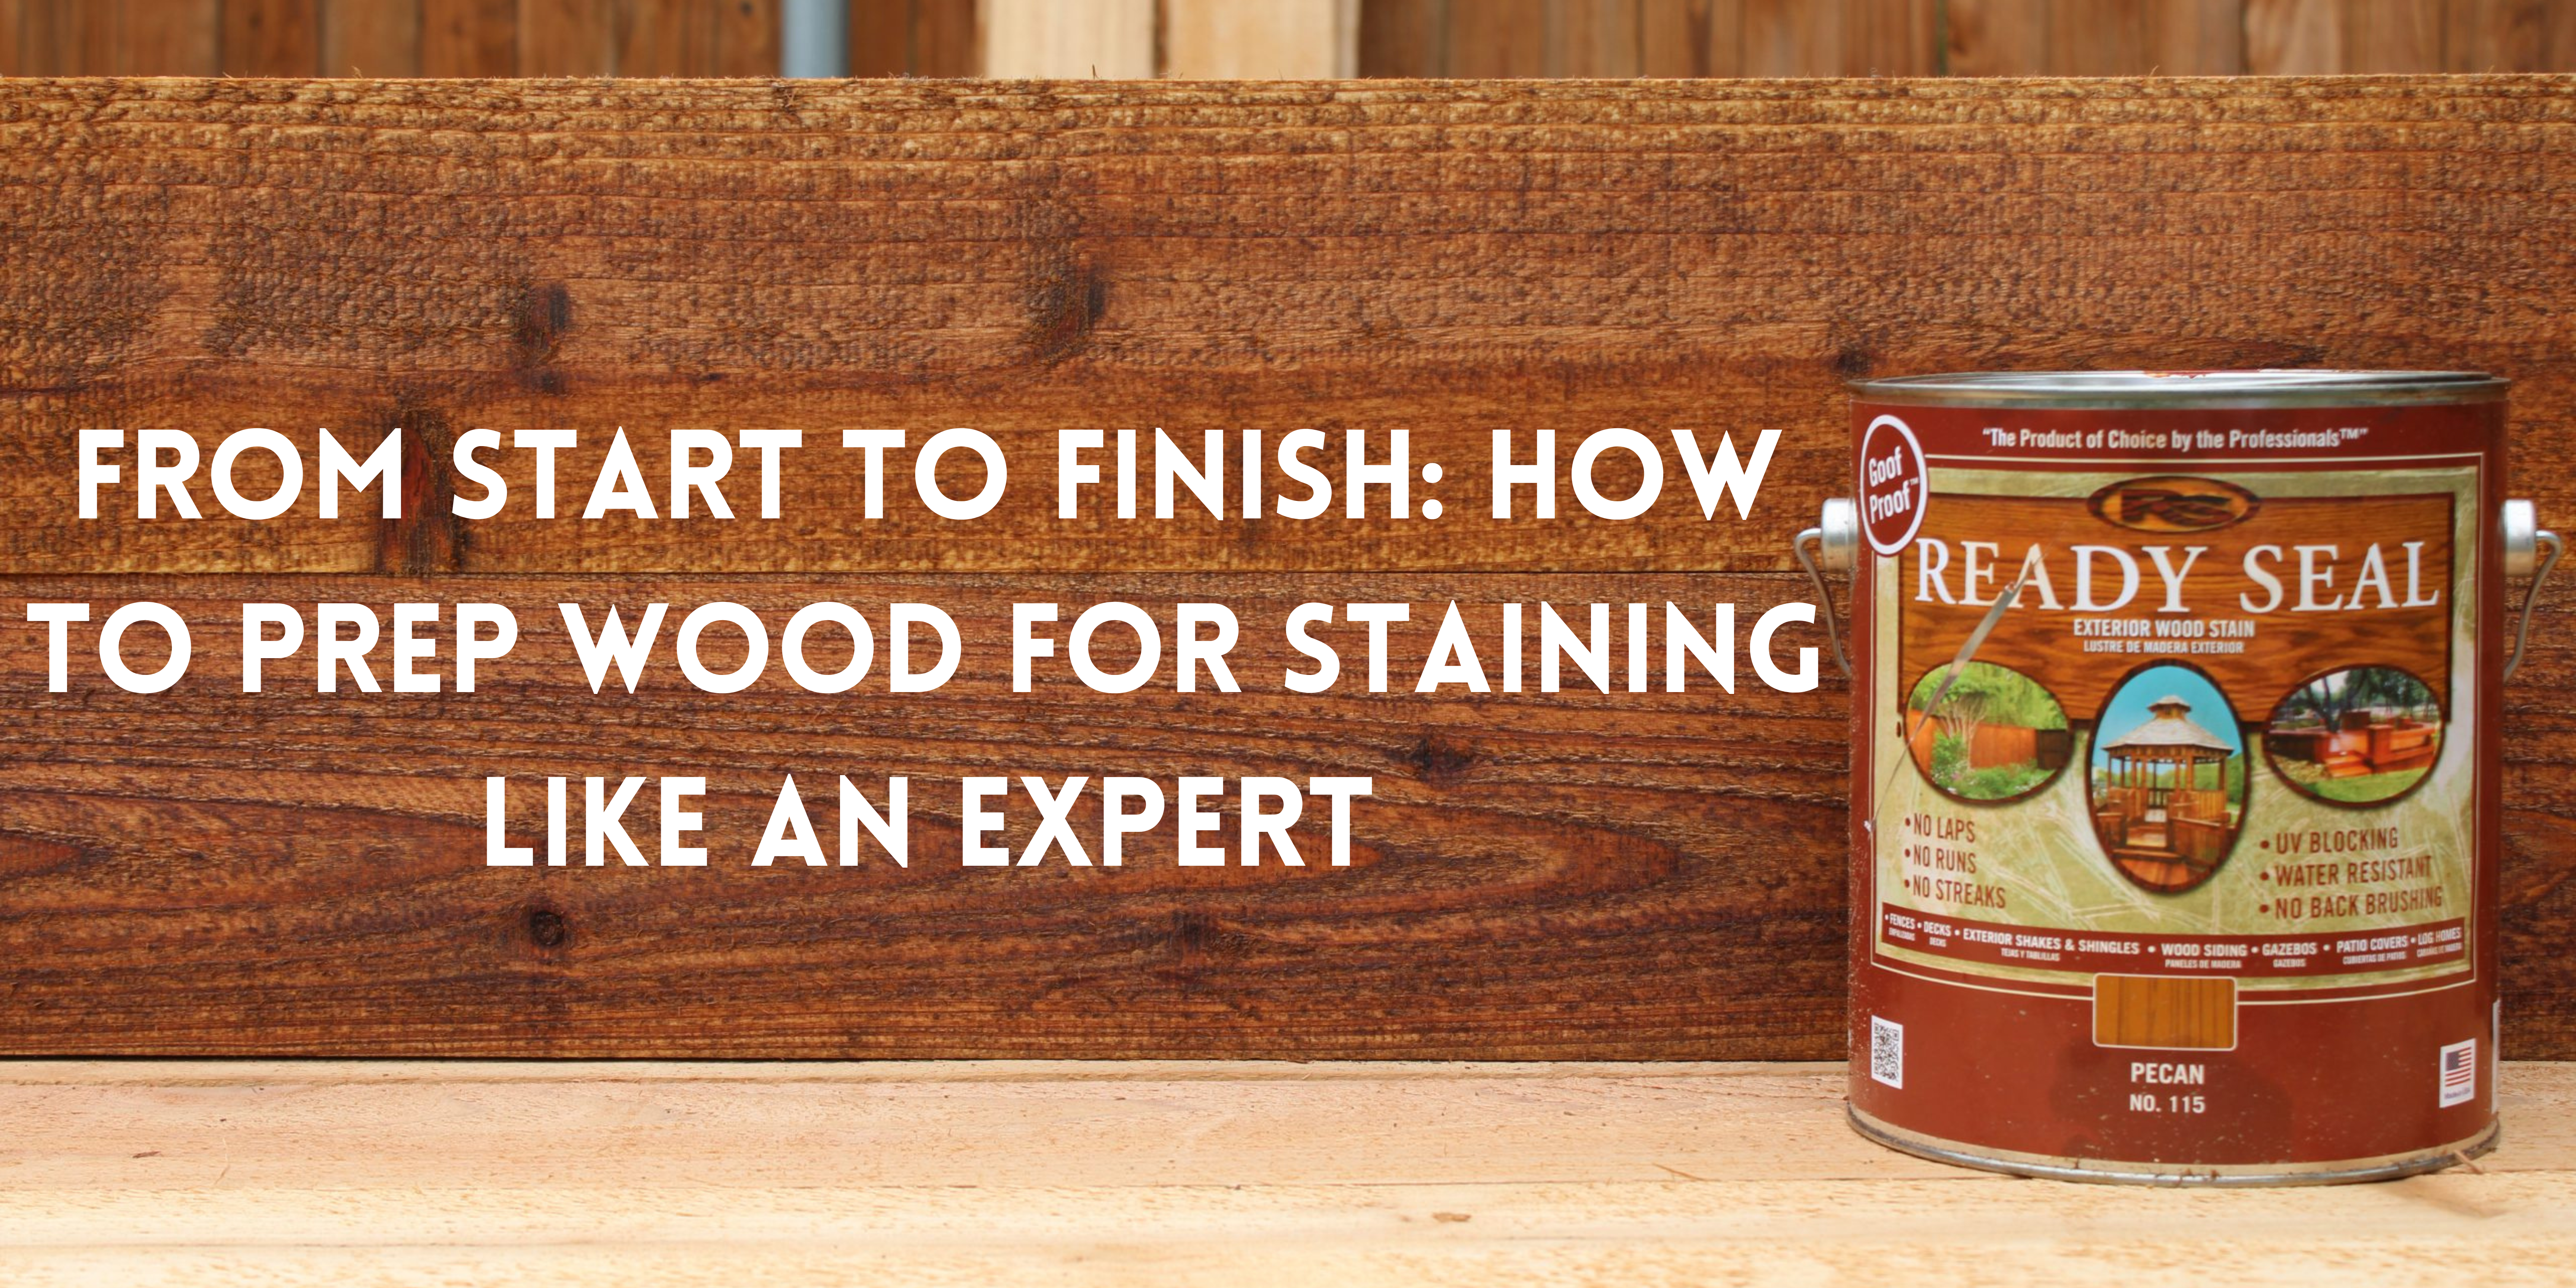
From Start to Finish: How to Prep Wood for Staining Like an Expert
Staining wood can transform its appearance, enhance its durability, and protect it from the elements. However, the key to a flawless finish lies in proper preparation. Whether you’re working on a deck, fence, or furniture, prepping wood for staining is a crucial step that ensures the stain adheres well and lasts longer. In this guide, we’ll walk you through the essential steps to prep wood for staining and highlight how Ready Seal Direct products can make the process easier and more effective.
Table of Contents
Why Proper Wood Preparation Matters
Before diving into the steps, it’s important to understand why prepping wood is so critical. Without proper preparation, the stain may not penetrate evenly, leading to blotchy results, poor adhesion, and reduced longevity. Prepping wood ensures:
- Better Stain Absorption: Clean, sanded wood allows the stain to penetrate deeply.
- Long-Lasting Results: Proper prep prevents peeling, cracking, and fading.
- Enhanced Appearance: A smooth, even surface ensures a professional-looking finish.
Step-by-Step Guide to Prepping Wood for Staining
- Inspect the Wood Surface: Start by examining the wood for any damage, such as cracks, splinters, or rot. Replace severely damaged boards to ensure a solid foundation. For minor imperfections, use a wood filler to smooth out the surface.
- Clean the Wood Thoroughly: Dirt, mildew, and old stain residues can prevent new stain from adhering properly. Use a wood cleaner or deck wash to remove grime and mildew. For decks and fences, a pressure washer can be highly effective, but use it on a low setting to avoid damaging the wood fibers.
- Pro Tip: Ready Seal Direct offers wood cleaners specifically designed to prepare surfaces for staining. These products are eco-friendly and effective at removing dirt and mildew without harming the wood.
- Sand the Surface: Sanding is essential for creating a smooth, even surface. Use medium-grit sandpaper (80-120 grit) to remove rough spots, old stain, or paint. For larger surfaces like decks, an orbital sander can save time and effort. After sanding, wipe away dust with a damp cloth or tack cloth.
- Allow the Wood to Dry Completely: After cleaning and sanding, let the wood dry completely. Staining damp wood can trap moisture, leading to poor adhesion and potential mold growth. Depending on the weather, this can take 24-48 hours.
- Test the Wood’s Readiness: Before applying stain, perform a water test. Sprinkle a few drops of water on the wood. If the water beads up, the wood needs more drying time. If it absorbs quickly, the wood is ready for staining.
Choosing the Right Stain for Your Project
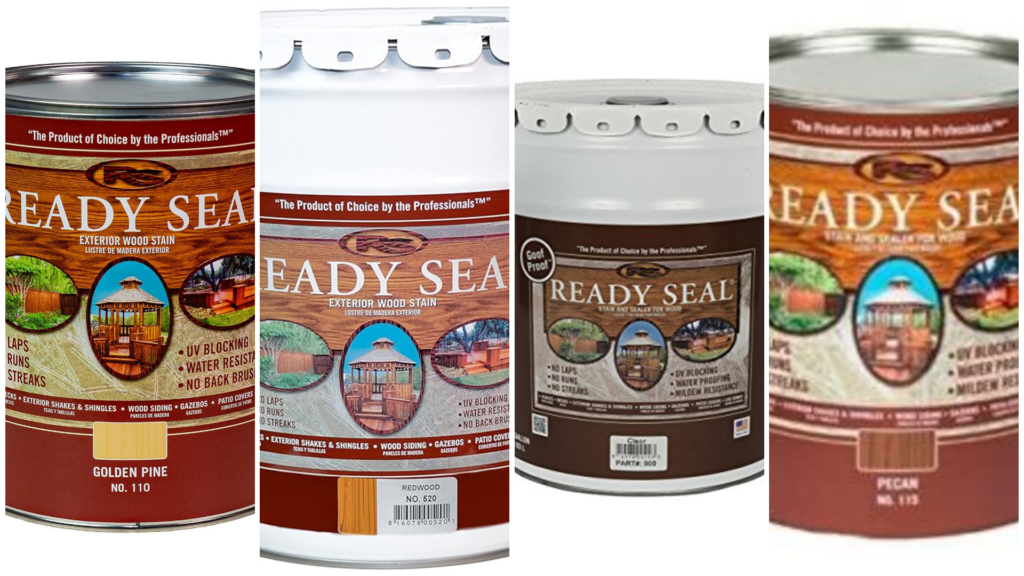
Once the wood is prepped, it’s time to select the right stain. Ready Seal Direct offers a range of high-quality wood stains and sealers that are perfect for decks, fences, and other outdoor wood surfaces. Here are some of their top products:
- Ready Seal Wood Stain and Sealer: This all-in-one product combines stain and sealer, making it a convenient choice for DIY enthusiasts. It’s available in a variety of colors, including Natural Cedar, Red Mahogany, and Golden Oak. Ready Seal’s formula penetrates deeply, providing long-lasting protection against UV rays and moisture.
- 5-Gallon Natural Cedar Stain: Ideal for large projects, this 5-gallon option offers excellent coverage and a beautiful natural cedar finish. It’s perfect for decks and fences, providing a rich, even color that enhances the wood’s natural grain.
- Ready Seal Deck Stain: Specifically formulated for decks, this stain is easy to apply and requires no primer or back-brushing. It’s self-leveling, which means it minimizes streaks and lap marks, giving your deck a professional finish.
Tips for Applying Stain Like a Pro
- Use the Right Tools: For large surfaces, use a sprayer, roller, or brush designed for staining. Ready Seal products are compatible with all application methods.
- Apply in Thin Coats: Avoid overloading the wood with stain. Apply thin, even coats to prevent pooling and ensure proper absorption.
- Work in Sections: Divide the project into manageable sections to maintain a wet edge and avoid lap marks.
- Follow Manufacturer Instructions: Always read the product label for specific drying times and application tips.
Why Choose Ready Seal Direct?
Ready Seal Direct is a trusted name in the wood care industry, offering premium stains and sealers that are easy to use and deliver exceptional results. Here’s why their products stand out:
- No Primer Needed: Ready Seal products penetrate deeply without the need for a primer.
- Self-Leveling Formula: This feature ensures a smooth, streak-free finish.
- Eco-Friendly Options: Many of their products are low in VOCs, making them safe for your family and the environment.
- Wide Color Selection: From natural tones to rich hues, there’s a color to match every style.
Final Thoughts
Prepping wood for staining may seem like a time-consuming task, but it’s well worth the effort. Proper preparation ensures a beautiful, long-lasting finish that protects your wood and enhances its natural beauty. By following the steps outlined above and using high-quality products from Ready Seal Direct, you can achieve professional results with ease.
Whether you’re staining a deck, fence, or piece of furniture, Ready Seal Direct has the tools and products you need to get the job done right. Visit their website at Ready Seal Direct to explore their full range of wood stains and sealers.
Leave a Reply